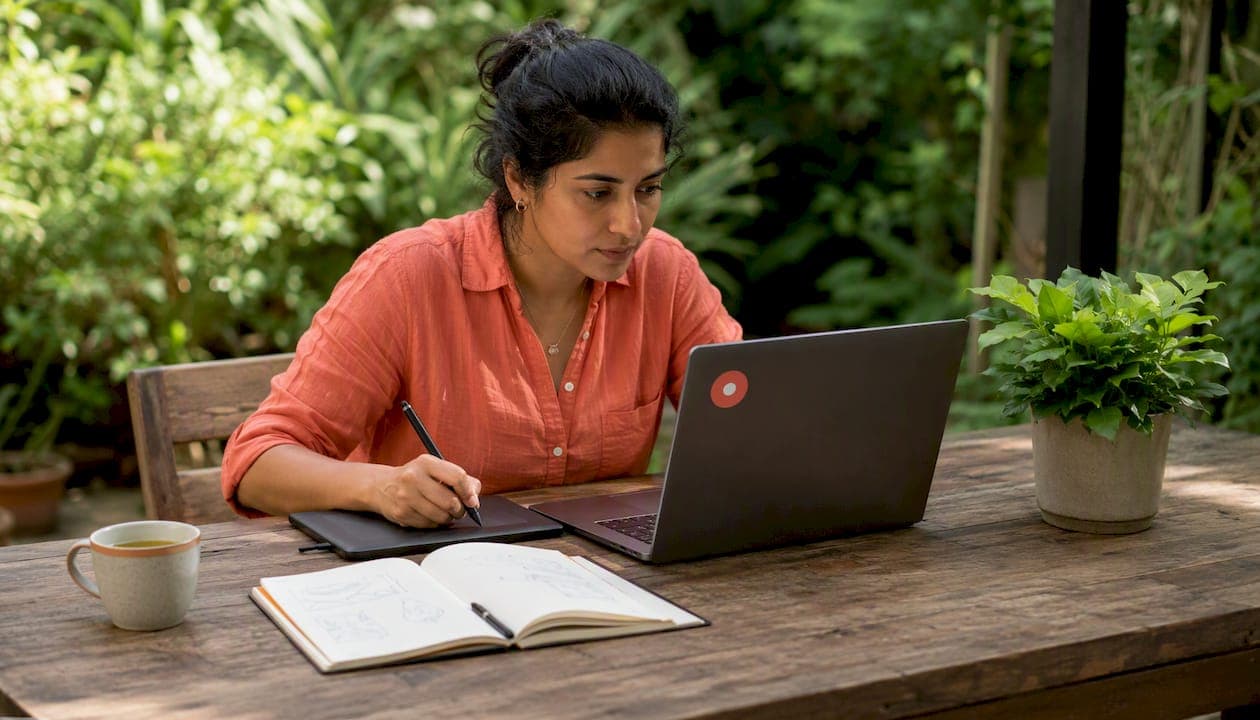
You can capture, mark up, and share a clear annotated screenshot in under 60 seconds. The core workflow is the same regardless of platform: capture → paste or upload → add arrows, text, blur, or numbered pins → export or copy to clipboard. For quick one-off edits, macOS Preview's Markup toolbar and Windows Snipping Tool (Win+Shift+S) handle the job without installing anything. For collaborative review where a team needs to leave pinned comments, track versions, and loop in clients, Usepinhub is the stronger choice.
The fastest path: press your capture shortcut, paste the image directly into a browser annotator or native editor, add one or two markers, then copy the result back to your clipboard. No file saves, no uploads, no friction.
What you need right now:
- A capture shortcut (see the table in the next section)
- A paste target: macOS Preview, Windows Snipping Tool, or any browser-based annotator
- Three annotation controls: arrow, text label, and blur/redact
- An export method: download as PNG or copy to clipboard
Table of Contents
- How do you annotate a screenshot step by step?
- What built-in tools can you use on macOS, Windows, and iPad?
- What features should you look for in a browser annotator?
- What are the best practices for clear annotated screenshots?
- Key Takeaways
- Why clear screenshots reduce back-and-forth
- Pinhub makes collaborative screenshot review faster
- Useful sources and further reading
- FAQ
How do you annotate a screenshot step by step?
The full workflow takes about 60 seconds once you know the steps. Follow this sequence and you will have a marked-up image ready to paste into Slack, a ticket, or an email.
- Capture your screen using the shortcut for your platform (see the table below).
- Paste or upload the image. Press Ctrl+V (Windows) or Cmd+V (macOS) to paste directly into a browser annotator or native editor. Dragging a saved file works too.
- Add an arrow to point at the exact area you mean. One arrow is usually enough.
- Add a text label next to the arrow. Keep it to five words or fewer.
- Add blur over any sensitive data — passwords, emails, or personal details.
- Place numbered callouts if you are documenting a multi-step process. Auto-numbered step badges place sequential numbers on each click, so you never have to renumber manually when steps change.
- Export or copy. Download as PNG, or copy the annotated image back to your clipboard and paste it directly where you need it.
Platform shortcuts at a glance
| Action | macOS | Windows | iPad |
|---|---|---|---|
| Capture full screen | Cmd+Shift+3 | PrtScn | Side + Volume Up |
| Capture a region | Cmd+Shift+4 | Win+Shift+S | Screenshot then crop |
| Open markup editor | Spacebar preview → Markup | Open Snipping Tool | Tap screenshot thumbnail |
| Copy result to clipboard | Cmd+Ctrl+Shift+4 | Win+Shift+S (default) | Share → Copy |
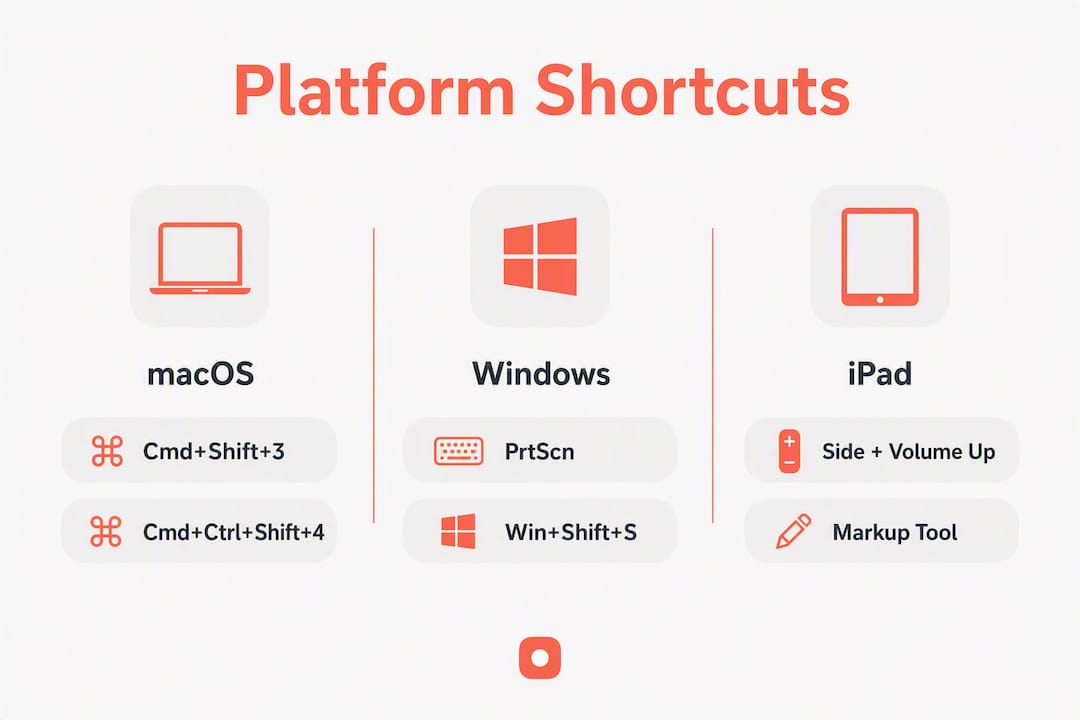
Pro Tip: Use clipboard-in and clipboard-out for the whole workflow. Capture with Cmd+Ctrl+Shift+4 (macOS) or Win+Shift+S (Windows) to copy directly to clipboard, paste into your annotator, annotate, then copy the result back. You skip every file-save and upload step entirely.
What built-in tools can you use on macOS, Windows, and iPad?
Native tools cover most single-user annotation needs without any extra software. Here is how each platform handles it.
macOS Preview (Markup)
Press Cmd+Shift+4 to capture a region, or Cmd+Shift+5 for the full capture menu. The screenshot thumbnail appears in the corner; click it to open the Markup editor immediately. From there, Apple's Markup toolbar gives you shapes, arrows, text boxes, and a signature tool. Export as PNG or JPEG from File → Export.
- Draw shapes or arrows with the Shape tool
- Add a text box anywhere on the image
- Use the Loupe tool to magnify a specific area
- Adjust stroke color and weight for visual consistency
Windows Snipping Tool
Press Win+Shift+S to copy a region directly to your clipboard. Open Snipping Tool from the Start menu for a fuller editor with a delay-capture option. The built-in editor lets you draw freehand, add text, and crop. For more annotation controls (numbered steps, blur), paste the clipboard image into Photos or a browser annotator.
- Win+Shift+S copies the region to clipboard instantly
- Open the notification to edit in Snipping Tool's editor
- Use the pen and highlighter tools for quick marks
iPad Markup
Capture with the Side button and Volume Up simultaneously. Tap the thumbnail in the corner to open Markup. With an Apple Pencil, you can draw arrows and shapes directly on the screen. Without one, use the toolbar at the bottom to select tools and tap to place text.
- Pinch to resize text boxes or shapes
- Tap the plus icon to add a text label or signature
- Share directly to Mail, Messages, or any app from the Markup view
What features should you look for in a browser annotator?
Browser-based annotators are the right choice when you need more annotation controls than your OS provides, or when you want to share a link rather than attach a file. The best ones support paste-from-clipboard, numbered step badges, blur/redact, and copy-to-clipboard export so the whole workflow stays in your browser tab.
Core features worth checking before you commit to a tool:
- Paste from clipboard (Ctrl/Cmd+V) so you skip the upload step
- Numbered step badges that auto-increment on each click
- Blur or pixelate for redacting sensitive content
- Copy-to-clipboard export to paste the finished image directly into Slack, Jira, or email
- Shareable links for sending annotated images without attachments
- No-signup access for quick one-off edits
Privacy note: If your screenshot contains internal dashboards, credentials, or personal data, choose a tool that processes images locally in the browser using the Canvas API. Local processing means your image never leaves your device and is never uploaded to a third-party server.
For a single quick comment, a browser annotator is the fastest path. For ongoing documentation or collaborative review with a team, a platform like Usepinhub adds version control, threaded discussions, and guest reviewer access that browser tools do not offer. You can also pair a screenshot Chrome extension with a dedicated review platform for a full capture-to-feedback workflow.
Pro Tip: Many browser annotators render annotations as a vector layer during your session and flatten everything to PNG on export. This means you can reposition arrows and text while you work, but once you export, the shapes are baked in. Finish all edits before copying to clipboard.
What are the best practices for clear annotated screenshots?
The difference between a clear and a confusing screenshot usually comes down to two things: one clear action per image and consistent visual markers throughout. Crowded screenshots with five arrows pointing in different directions force the viewer to figure out what matters. One arrow, one label, one point.
Dos:
- Limit each screenshot to a single action or question
- Use the same arrow color and stroke weight across all images in a document
- Number steps sequentially when documenting a process; auto-numbering reduces manual errors when steps reorder
- Blur or redact any personal data, credentials, or internal URLs before sharing
- Keep text labels short: five words or fewer per callout
Don'ts:
- Do not place more than three callouts on a single image
- Do not mix red arrows in one screenshot and blue in the next
- Do not leave sensitive data visible, even in internal documentation
On consistency: Screenshot style guides recommend numbered callouts, consistent color and stroke choices, and clarity-first layouts for step-by-step documentation. Picking one visual style and sticking to it across a whole guide cuts the cognitive load for readers significantly.
Where Usepinhub fits in. When annotation moves from a solo task to a team review, the workflow changes. Usepinhub lets you pin comments directly to pixels on an uploaded screenshot, so feedback is anchored to the exact spot being discussed rather than described in a separate message. Guest reviewers can leave comments without creating an account, version control tracks changes across iterations, and AI-generated summaries surface the key feedback points automatically. For teams doing regular design or marketing reviews, that structure replaces a long thread of "see the red circle in my email" messages.

Key Takeaways
The fastest way to annotate screenshots is to capture with a keyboard shortcut, paste directly into an editor, add one arrow and one text label, then copy the result back to your clipboard.
| Point | Details |
|---|---|
| Capture with a shortcut | Use Win+Shift+S (Windows) or Cmd+Shift+4 (macOS) to copy a region to clipboard instantly. |
| Paste, don't upload | Ctrl/Cmd+V into a browser annotator or native editor removes the file-save step entirely. |
| One action per image | Limit each screenshot to a single callout or question to reduce cognitive load for the viewer. |
| Use local processing for sensitive content | Choose a browser annotator that processes images locally so screenshots never leave your device. |
| Usepinhub for team review | Pin pixel-anchored comments, invite guest reviewers, and track versions without extra email threads. |
Why clear screenshots reduce back-and-forth
A numbered annotated screenshot replaces a paragraph of text almost every time. "Click the gear icon in the top-right corner, then select Account Settings, then scroll to the Notifications section" becomes a single image with three numbered callouts. The reader sees it instantly. The writer sends it in 30 seconds. That exchange, repeated across a support queue or a design review cycle, adds up fast.
The real cost of a vague screenshot is not the confusion in the moment. It is the follow-up message, the clarifying call, the delayed ticket resolution. Annotating clearly the first time is the simplest way to cut that loop short.
Pinhub makes collaborative screenshot review faster
Annotating a screenshot for yourself is quick. Annotating one for a team, tracking who said what, and managing multiple versions is a different problem. Usepinhub solves it by letting you pin comments directly onto pixels, so every piece of feedback is anchored to the exact area being discussed.
Guest reviewers join without creating an account, version control keeps every iteration on record, and AI summaries pull the key feedback points into a checklist automatically. For product designers, marketing teams, and remote collaborators who run regular review cycles, Usepinhub replaces scattered email threads with a single organized workspace.
Start a free workspace at Usepinhub and upload your first screenshot in under two minutes.
Useful sources and further reading
| Resource | What it covers |
|---|---|
| Apple Support: Annotate an image in Preview on Mac | Official guide to macOS Markup tools in Preview |
| Screenhance: Screenshot Annotation Tool | Browser annotator with auto-numbered step badges |
| AnnotateFast | Paste-from-clipboard browser annotator with local processing |
| OptiPix: Screenshot Annotator | No-upload annotator with blur, numbered steps, and clipboard export |
| Ritza Screenshot Style Guide | Best practices for consistent screenshot documentation |
| Pinhub: Collaborative screenshot review | Pinned comments, guest reviewers, version control, and AI summaries |
| Pinhub blog: How to annotate a website | Workflow guide for annotating web pages with a team |
FAQ
How do I annotate a screenshot?
Capture your screen with a keyboard shortcut, paste the image into a native editor or browser annotator, add arrows, text, or numbered callouts, then export or copy to clipboard. The full workflow takes under 60 seconds.
How do I annotate a screenshot on iPad?
Press the Side button and Volume Up together to capture, then tap the thumbnail to open Markup. Use the toolbar to draw arrows, add text, or place shapes; an Apple Pencil gives you freehand control.

How do I do markup on a screenshot in macOS?
Press Cmd+Shift+4 to capture a region, click the thumbnail to open the Markup editor, then use the toolbar to add shapes, text, or arrows. Export from File → Export or press Cmd+Ctrl+Shift+4 to copy directly to clipboard.
When should I use Usepinhub instead of a basic annotator?
Use Usepinhub when you need team collaboration: pinned pixel-level comments, guest reviewer access without accounts, version history, and AI-generated feedback summaries go beyond what single-user annotation tools provide.